Blackberry
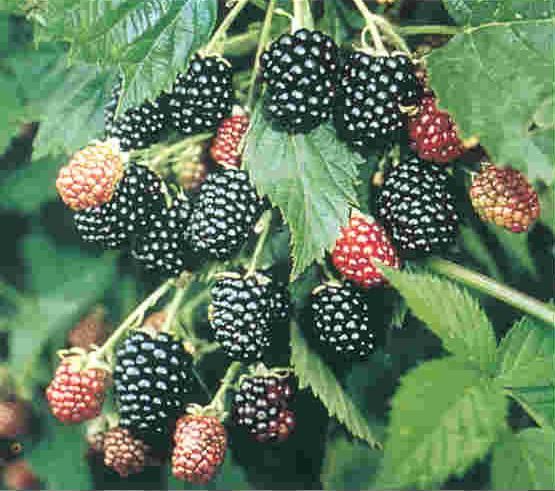
Scientific name: Rubus fructicosus
Type: hardy perennial cane
Light: full sun
Soil: medium well-drained
Introduction
Homeowners frequently overlook the possibilities for growing blackberries. They are often scarce in local markets, and homeowners may have to grow them or do without! They are relatively easy to grow and they need relatively few sprays for pest control.
Types to Grow
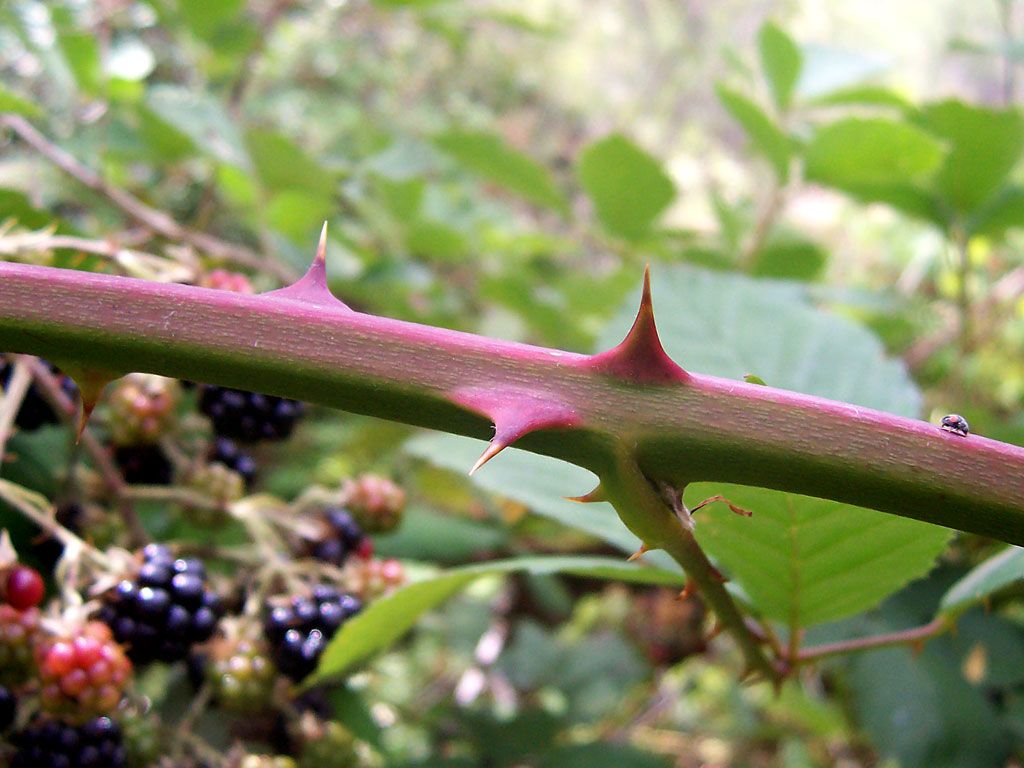
Blackberries are of two types: semitrailing thornless and erect. Semitrailing thornless blackberries have canes that are not self-supporting; they must be tied to poles or trellises. The fruit ripens about one month after that of the erect type. The semitrailing type should not be grown in areas where winter temperatures may drop below 0°F. Erect blackberries can tolerate temperatures slightly below 0°F without significant injury to canes.
|
|
|
Soil Testing and Planting
It is best to test the soil four to six months before planting to allow adequate time to amend the soil based on test results. If the pH is too low, raise it to the level suggested by the soil test with dolomitic lime.
Keep plant roots moist until planting time by either heeling them into the ground temporarily or wrapping them in wet burlap. Do not leave the roots exposed to the drying effects of sun and air.
Prepare a planting hole large enough to allow the roots to spread out naturally. Do not prune the roots except to remove damaged ones. Set plants at the same depth they were planted in the nursery. The crown (the point where the stem and root merge) should be one inch below ground level.
After planting, tamp the soil firmly to remove air pockets around the roots. Water all new plantings well, immediately after planting.
Fertilization, Irrigation, Cultivation, and Mulching
Mixed fertilizers are satisfactory for blackberries. For best results, apply fertilizer in early spring when growth starts and again in summer just after harvest. Use a 10-10-10 commercial mix at the rate of 5 pounds per hundred linear feet of row. For late-ripening thornless blackberries, apply the fertilizer mix no later than July to avoid forcing late-season growth that would be subject to winter injury. For the first year or two, before the root system of the plants develops fully, spread 3 or 4 ounces of fertilizer in a 12-inch radius around the base of each plant.
Blackberries require abundant moisture while the berries are growing and ripening. If rainfall is not adequate, provide irrigation water equivalent to 1 inch of rainfall per week. A minimum rate of drip irrigation for mature blackberry plants is 2 gallons of water per day while berries are developing.
Mulching reduces watering frequency and aids in the control of weeds and grasses that compete for moisture and nutrients. Good mulching materials include pine straw, wood chips, and seed-free grain mulches, such as wheat or rye.
Blackberry plantings should be cultivated thoroughly and frequently or mulched very well to keep grass and other weeds from getting a start. Once started, weeds are difficult to control. Begin cultivating in the spring as soon as the soil is workable. Cultivate as often as necessary to control weeds. Avoid deep cultivation so that you do not cut the blackberry roots. Undesirable suckering becomes much more sever, especially on the erect varieties, when roots are damaged.
Discontinue cultivation at least one month before freezing weather normally begins. Herbicides can be useful on established blackberry plantings.
|
|
|
Training and Pruning
Train semitrailing blackberries to trellises. The erect blackberry varieties do not require support if the tops of new canes are pruned during the summer to keep growth below 3 to 4 feet. Erect blackberries that are not topped may be trained to a one-wire trellis.
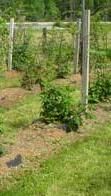
Construct the blackberry trellis by stretching a wire between posts set 20 feet apart in the row. For erect blackberries, use one wire attached to the post about 30 inches from the ground. For semitrailing blackberries, use two wires at heights of 3 feet and 5 feet from the ground.
Erect blackberries such as Cherokee and Cheyenne require pruning out of the root suckers that arise from the crown. During the growing season, it is desirable to allow root suckers to develop to about a 12-inch-wide row. Any growth beyond this should be eliminated.
When the new shoots of erect blackberries reach 30 to 36 inches in height, cut off the tips. This will force branching lower on the canes and will cause the canes to thicken, making them better able to support a heavy fruit crop. During the winter, prune the laterals to 12 to 14 inches for convenient harvesting and larger berries. In late winter, remove any remaining dead or weak wood.
As soon as the last fruit has been picked in summer, cut all the old canes and burn them. This is also a good time to tip prune and thin new shoots.
Semitrailing blackberries should be trained to the trellis described above with a soft string.
Generally, only a small crop of fruit is produced in the first season. If growth is poor during this first season, cut the canes back to several inches in late winter to force development of sturdier, more fruitful canes. In the second and succeeding years, shoot growth is more vigorous and upright. Tie these new shoots to the trellis when they reach a length of 4 to 6 feet. Some growers prefer to wait until harvest is over and old canes have been removed before tying new shoots to the wires. Pruning the old canes is critical to the prevention of disease. After harvest, prune damaged or weak canes, leaving 4 to 8 new shoots. Tie these canes to the trellis in a fan shape (do not bunch them). In the spring before growth starts, prune any laterals back to 12 inches to encourage larger fruit.
Harvesting
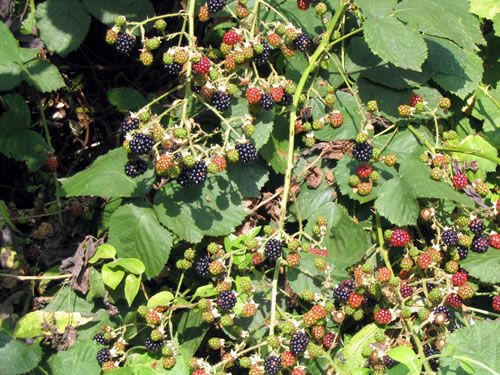
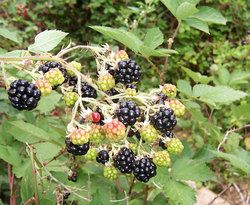
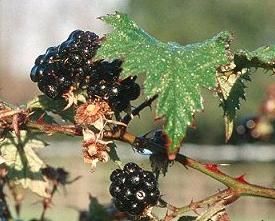
The harvesting of some erect thorny blackberries begins about a week or two after the strawberry season (about the first of June in Raleigh); semitrailing thornless types usually do not begin ripening until midsummer. Pick when the fruit is dull black in appearance.
Propagation
It is an easy job to propagate a blackberry bush, even for novice gardeners. The best time is around early September.
Select a stem which is in perfect condition (growing vigorously with no blemishes) and bend it's tip to the ground. Where it touches the ground, dig a small hole about 15cm (6in) deep and bury the tip of the stem into the hole. Cover with crumbly soil to the surrounding soil level. If the stem looks like springing out of the hole, place a few largish stones over the soil to keep it in place (remove them two months later). Water well if the conditions are dry.
The stem tips will root in a couple of month's time, and can be dug up and moved to their final position early Spring next year. To do this, sever the parent stem about 30cm (12in) from the new plant. Dig up the new plant, trying to avoid any root disturbance and plant in their new positions.